Survey Administration and Settings
This part of the documentation provides guidance on the configuration of key administrative modules that are typically set up once during the initial implementation or updated as needed by the designated administrator. These modules are essential for supporting core system functionalities, managing survey access, compliance, and ensuring the platform runs efficiently and aligns with organizational requirements.
The modules covered in this guide include:
- Setting up User Management
- Establishing Email Account
- Embedded Management - COMING SOON
- Frequently Asked Questions
- Privacy Policy
To maintain system integrity and consistency, it is strongly recommended that only authorized administrators perform these configurations.
Setting up User Management
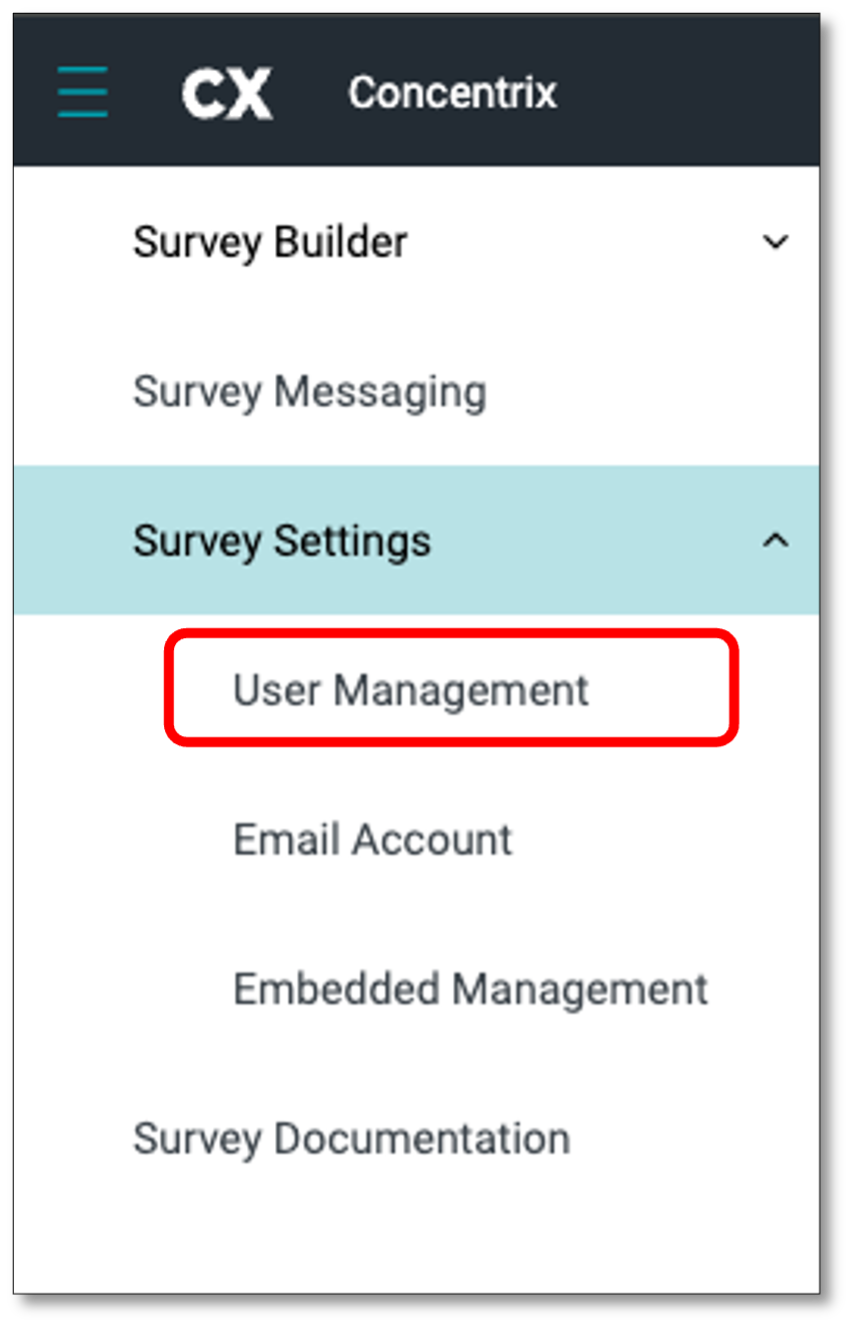
To manage user access, navigate to the menu toolbar on the left side of your screen and select the 'Survey Settings' tab. From the dropdown menu, select 'User Management'.
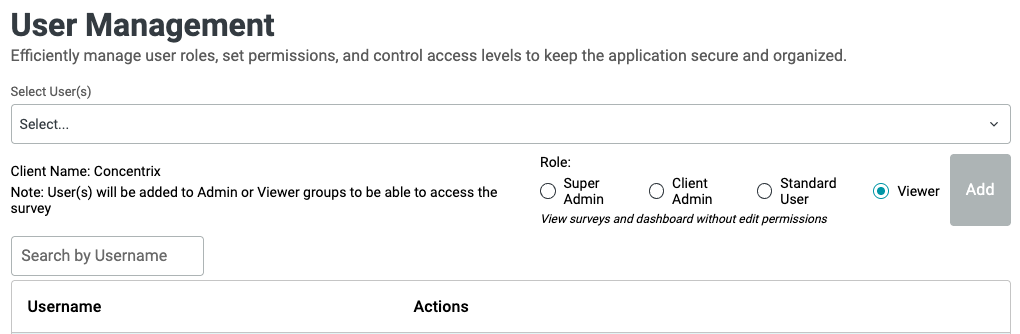
In the User Management section, you can add new users, assign roles, and manage survey access permissions. You can search for users by username using the search bar and view their access levels organized by roles.
This page helps you manage who can access the Survey Builder application. Administrators can view the list of users who currently have access, verify if a specific user is already registered, or grant new users access to the application.
- Select User(s) - Displays a list of users who already have access to ConcentrixCX application.
- Search by Username - Allows you to verify whether a user already has access to Survey Builder. If the user is not found, the administrator can add them to grant access to the application.
NOTE: A user must have an active ConcentrixCX account in order to be added to the DIY Survey Builder User Management module.
Types of User Roles:
- Super Admin - Full access to all DIY Survey features, settings, and all client accounts (specific Concentrix Users only).
- Client Admin - Full access to surveys, users (except Super Admin), and settings within the assigned client account.
- Standard User - Can create, edit, and manage surveys & dashboard for their client account.
- Viewer - View surveys without permissions but able to make changes in the dashboards page.
How to Add a User
To add a user, first search and select the individual from the Search User(s) field. Next, choose the appropriate role based on access permissions, assign the role, and click the Add button to complete the process. If you need to grant access to multiple users at once, you can use the multi-select option under Select User(s).

User roles can be modified at any time. You can edit or upgrade access based on permissions or revoke access entirely as needed.
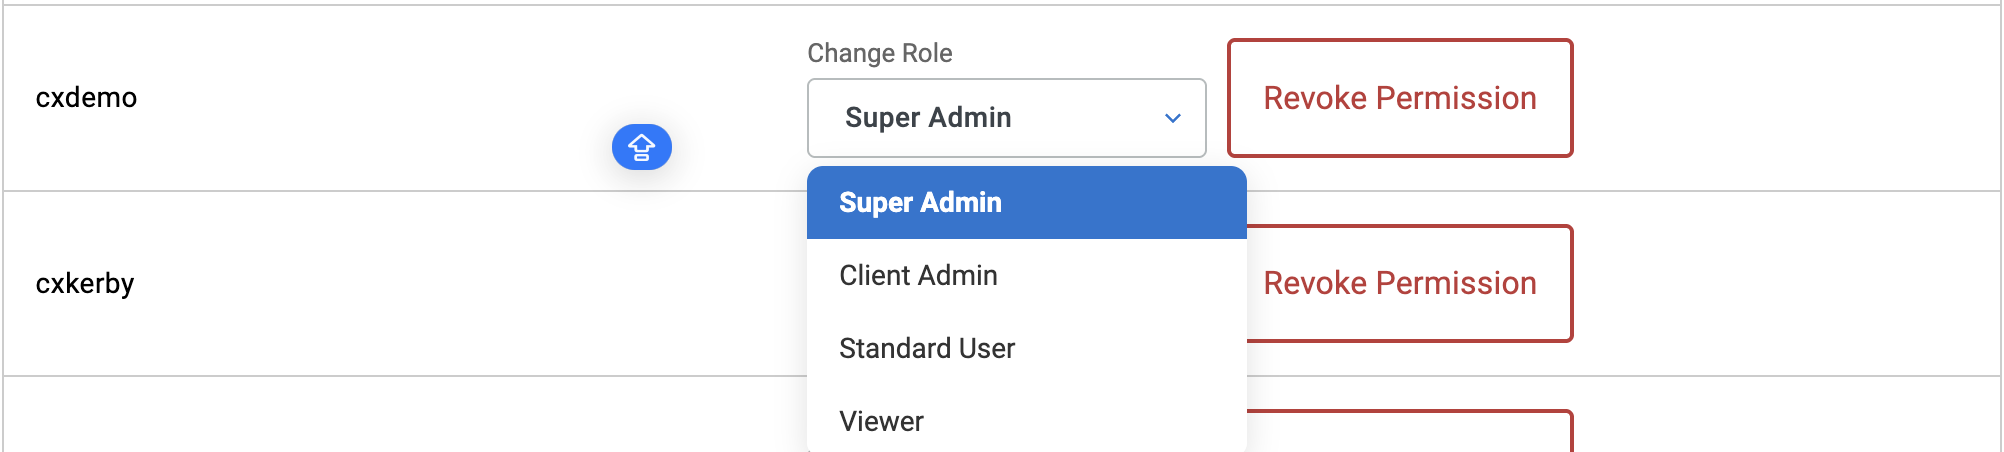
NOTE: A User cannot be deleted if there are still projects assigned to them. All projects must first be reassigned to another User.
Establishing Email Account
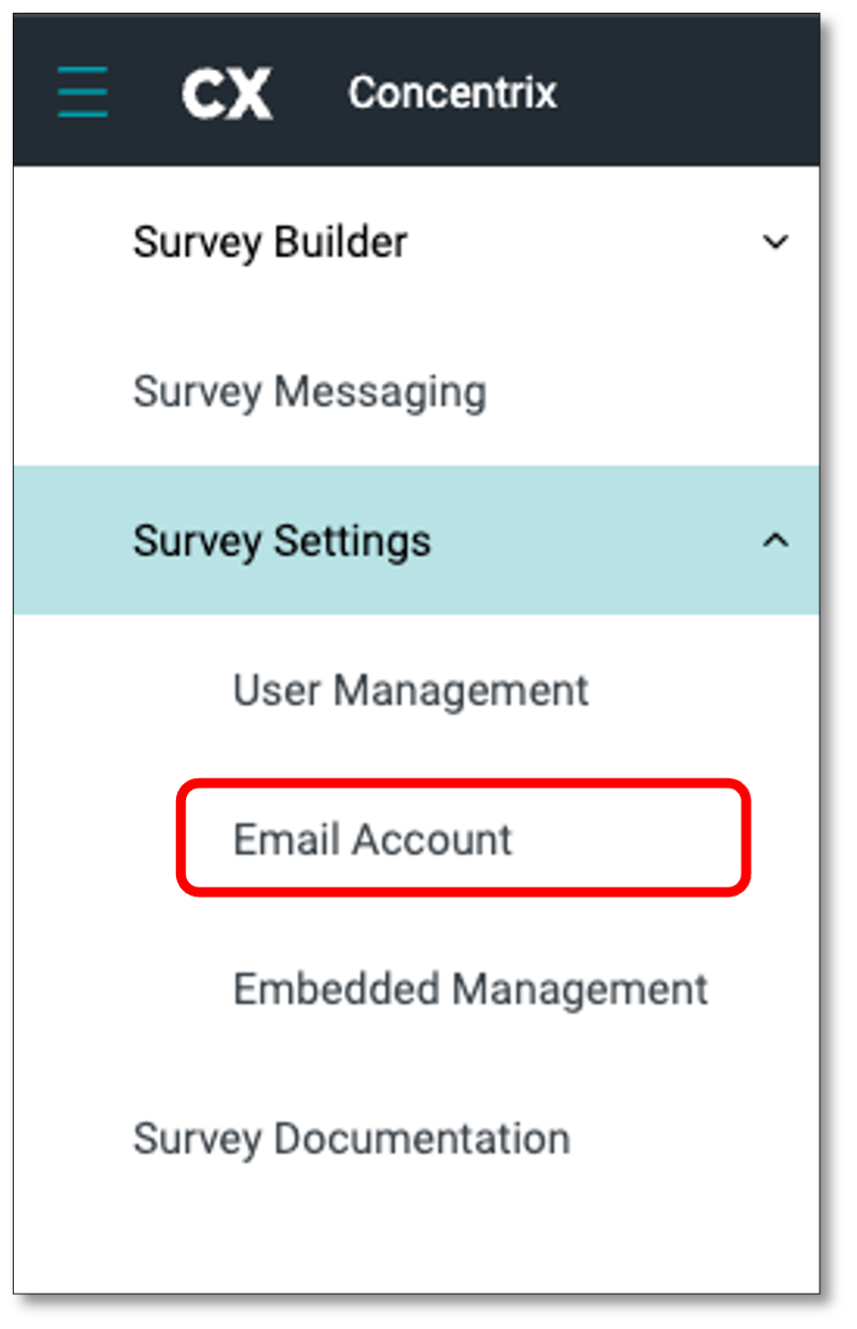
To configure an email account for survey distribution, expand the 'Settings' dropdown in the left-hand menu and select 'Email Account'.
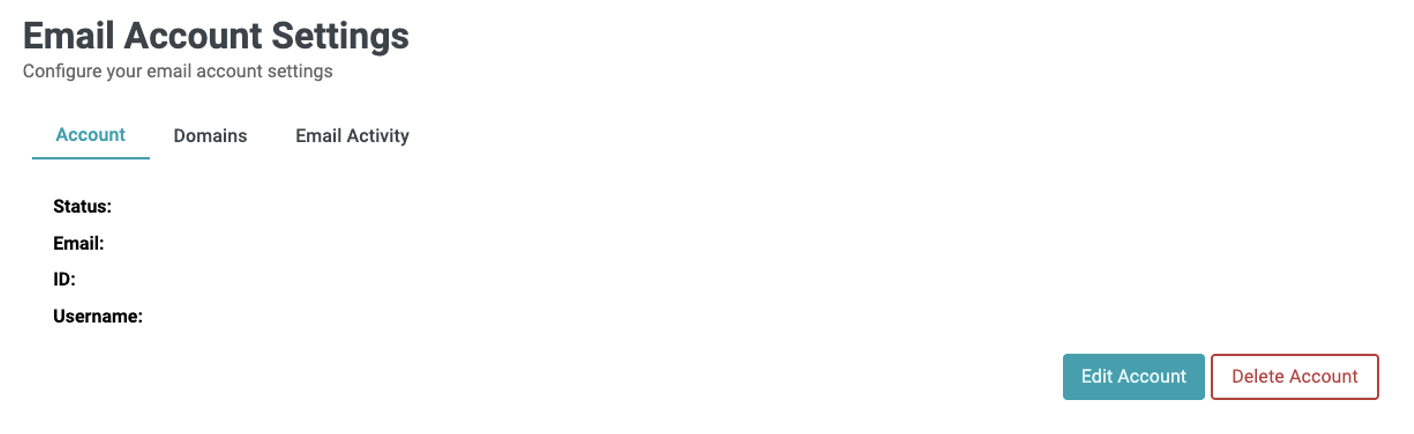
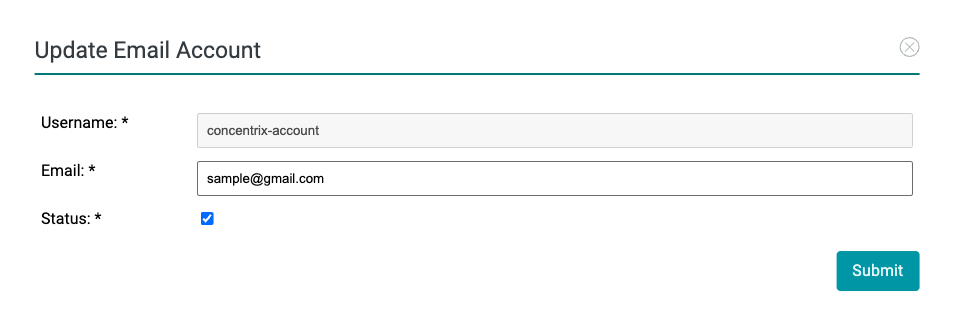
To update the surveyor's email account, navigate to the 'Account' tab where you can view and modify account details. To make changes, click on the 'Edit Account' button located at the bottom right of your screen. You will be prompted to enter the email account for survey distribution. Be sure to check the status box to mark the account as active. Once you've made your edits, select 'Submit' to save the changes. If needed, you can also delete the account by selecting the 'Delete' option.
Under the 'Account' tab, click the 'Edit Account' button to modify account details. Ensure you check the 'Active' box to activate the account. After making updates, click 'Submit' to save your changes. Use the 'Delete' button to remove an account if necessary.
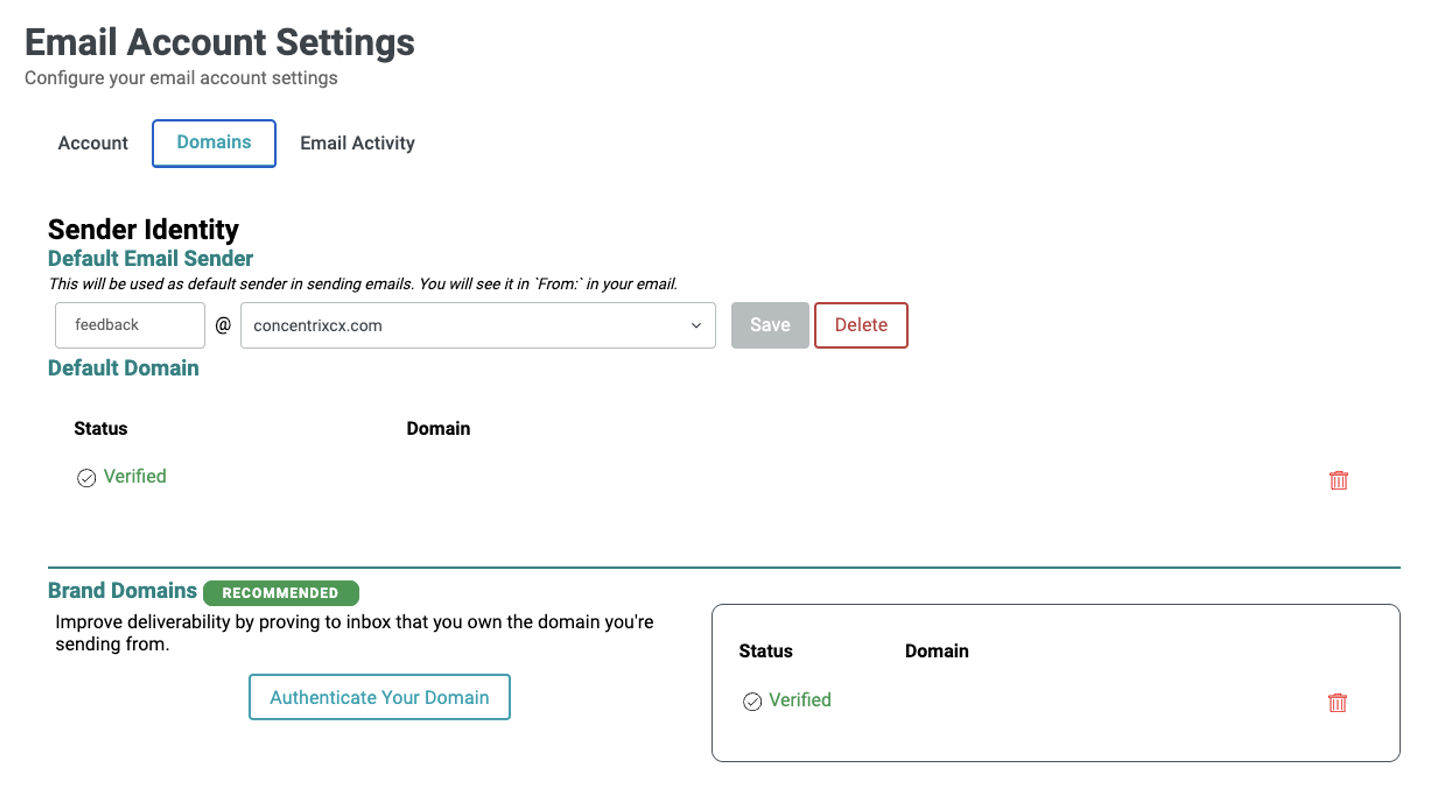
To change the email domain, select the 'Domains' tab at the top of the page. Update the domain name and click 'Save'.
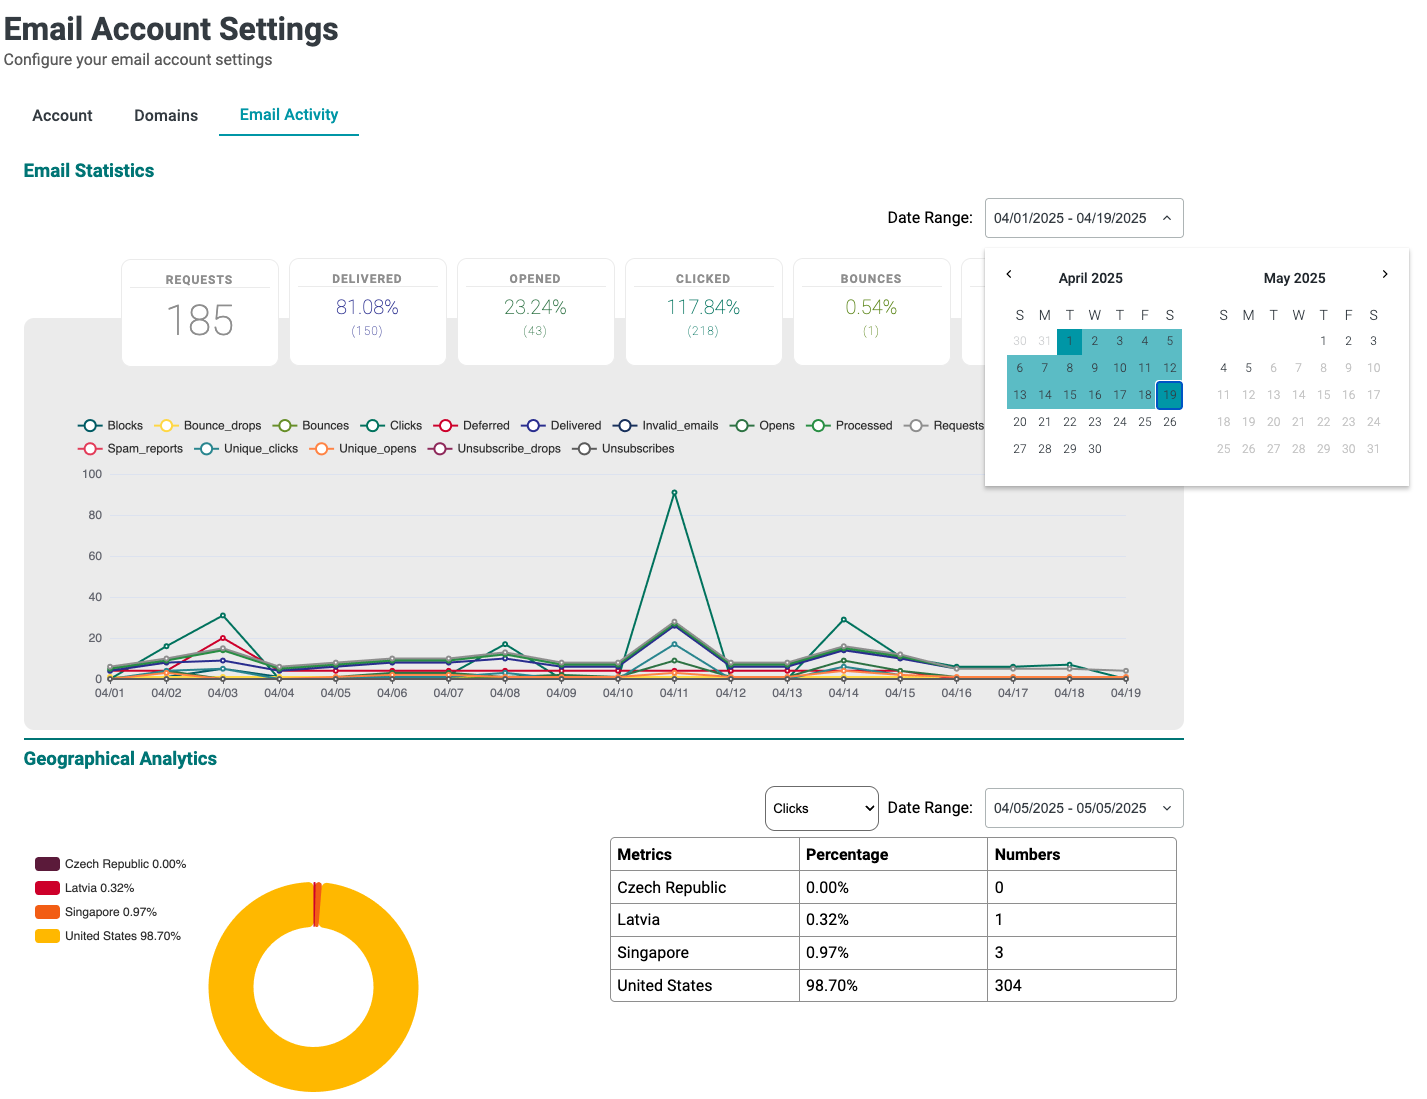
For performance tracking, open the 'Email Activity' tab. Choose a custom date range using the calendar and view results in a color-coded graph. You can click graph legends to toggle specific data on or off.

Scroll down to the 'Geographical Analytics' section for location-specific insights. Adjust filters for metric type and timeframe using dropdown menus above the chart.
Setting up Embedded Management
This section is currently under construction
Frequently Asked Questions (FAQ Page)
To further assist survey respondents in creating and navigating the survey, you can create a Frequently Asked Questions (FAQ) page. This section helps address common concerns or difficulties respondents may encounter in creating a survey.
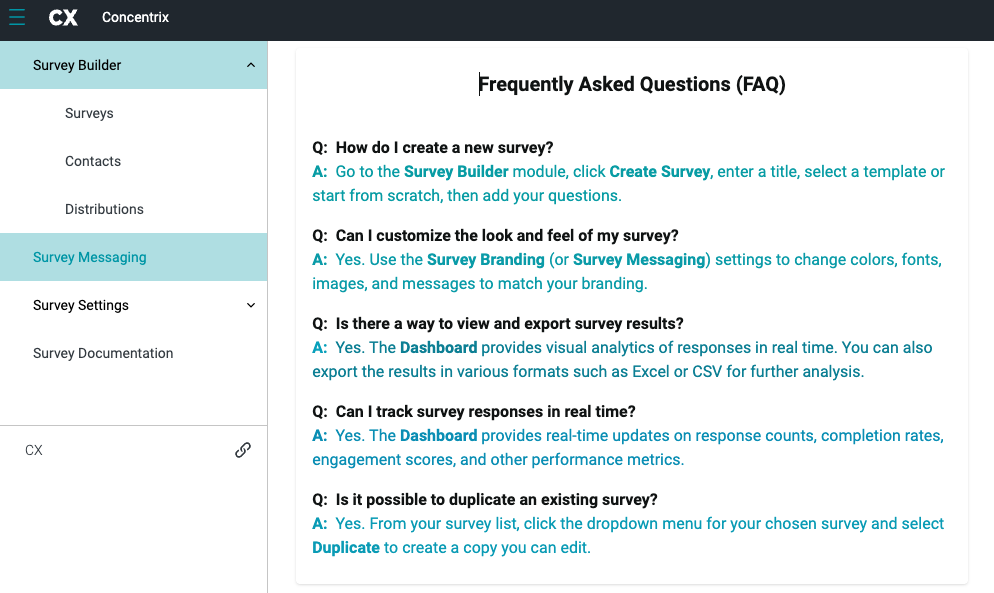
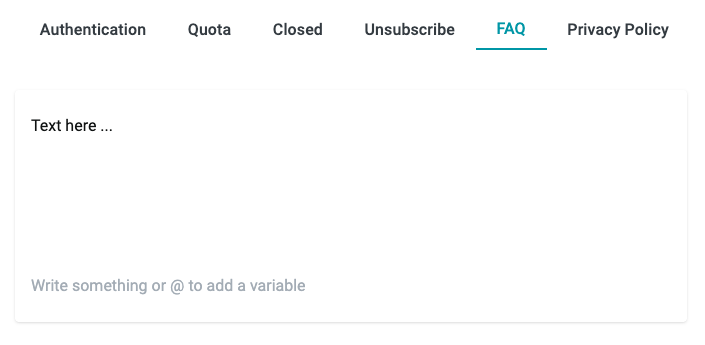
To create an FAQ section, go to the top-left toolbar menu, click 'Survey Messaging', and then choose 'FAQ' tab.

The Survey Builder opens to a default FAQ page that provides commonly used information to help you get started. You can customize the content of this page to better fit your specific needs.
NOTE: Any customization or modification made to the survey messaging modules through Templates (e.g., FAQ, Unsubscribe, Privacy Policy, etc.) will apply globally and affect all surveys under the client or account you are working on. Ensure changes are reviewed carefully before implementation.
Before we begin creating your message, we will first explain how to navigate the Templates and Appearance Options panels found on the right-hand side of the page. These panels provide the tools you'll need to start building your template and customizing the look and feel of your messages.
Navigating the Templates & Appearance Options Panels
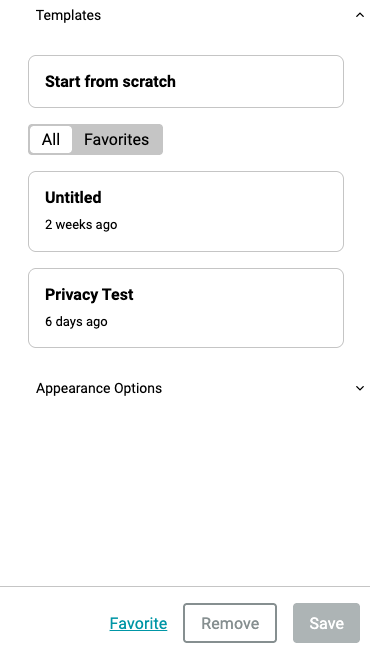
The Templates section allows you to manage and select pre-designed layouts for your FAQ.
- Start from Scratch Select this option if you want to build a FAQ from a blank slate without using any pre-configured styles or content.
- Existing Templates Previously created templates will appear in a list with their respective names and timestamps. You can click on any of these to reuse or edit them for your FAQ.
- Favorites Tab You can tag frequently used templates as Favorites for quick access. Switch between All and Favorites using the toggle buttons to filter the list.
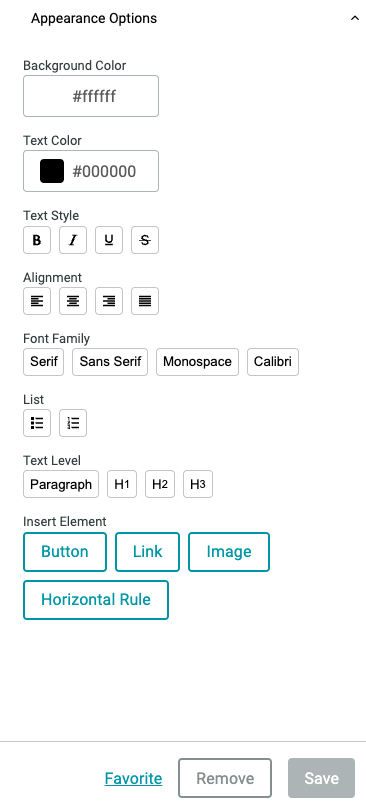
The Appearance Options panel allows you to customize the visual style and formatting of your message or template. Below is a breakdown of the available controls:
Colors
- Background Color - Set the background using a HEX code or color picker
- Text Color - Define text color for readability and branding
Text Formatting
- Text Styles - Bold, Italic, Underline, Strikethrough
- Alignment - Align text to the left, center, or right
- Font Family - Choose from Serif, Sans Serif, Monospace, or Calibri
- Lists - Add bulleted or numbered lists
- Text Level - Select Paragraph, H1, H2, or H3 for structure
Insert Elements
- Button - Add a clickable call-to-action
- Link - Insert hyperlinks
- Image - Upload visuals
- Horizontal Rule - Add dividers between sections
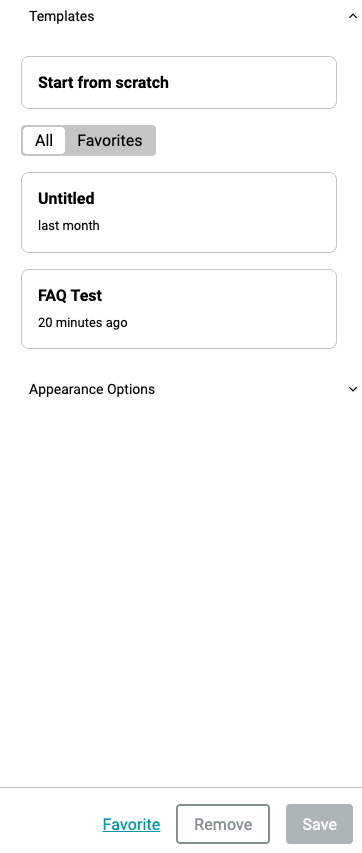

Once a template is created or selected, you can mark it as a Favorite, Remove it, or Save any changes you've made.
NOTE: Any customization or modification made to the survey messaging modules through Templates (e.g., FAQ, Unsubscribe, Privacy Policy, etc.) will apply globally and affect all surveys under the client or account you are working on. Ensure changes are reviewed carefully before implementation.
Creating your FAQ
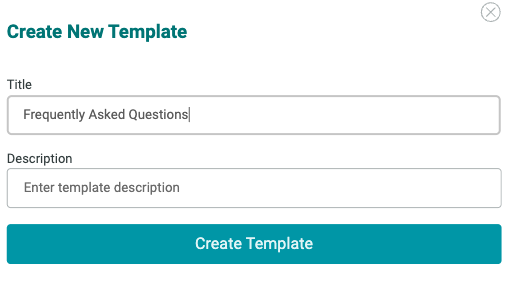
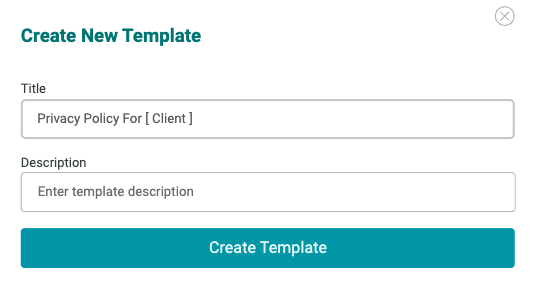
To create your message or text, you can either start from scratch or choose an existing template. Once you've selected a template, you will be prompted to enter the Title and Description, then click the Create Template button to proceed.
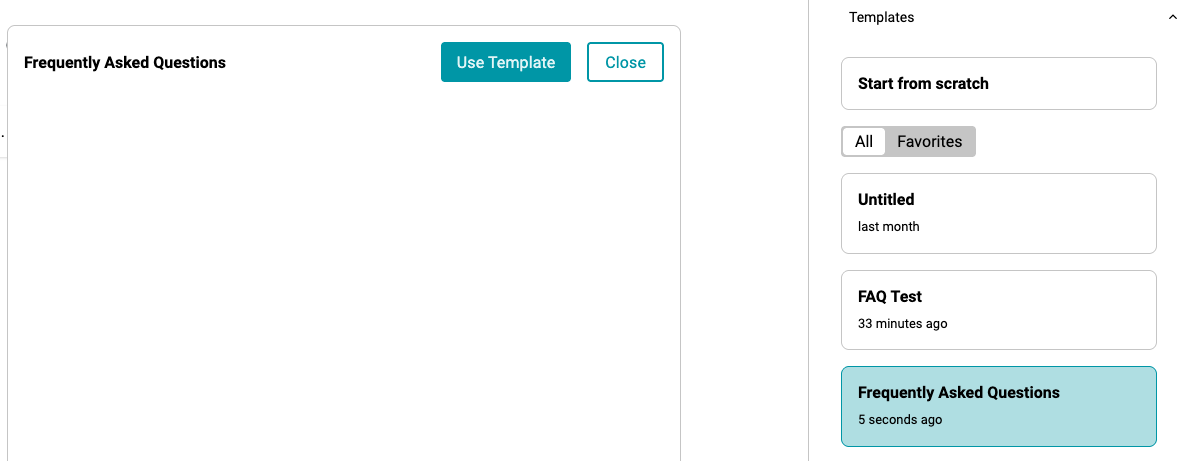
Your new template will appear under the Templates list. Click on it to begin setting up your FAQ content.
Type your message in the text editor provided. Go to Appearance Options to customize the style, formatting, and layout of your text.
NOTE: The FAQ Page is made available and can be accessed by the survey respondents through the link located at the bottom of the survey invitation email. This link is only available when the survey is sent or distributed through an email invitation.

Privacy Policy Page
To enhance transparency and reassure respondents about how their data / responses will be handled, you can create a dedicated Privacy Policy Page within the survey.
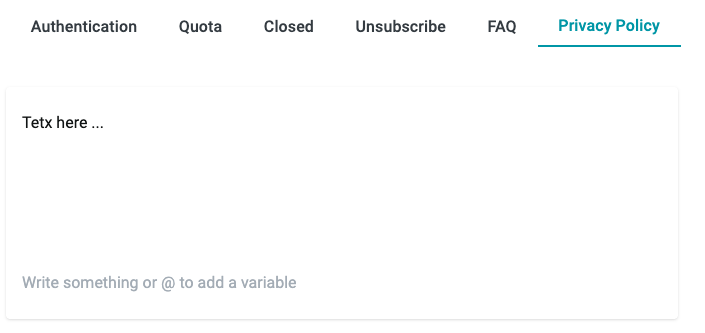
To do this, navigate to 'Survey Messaging' from the top left toolbar menu and select 'Privacy Policy' tab.

The Privacy Policy module allows you to define and communicate how user data is collected, used, and protected within your survey or application.
Within this module, you will find a text box where you can write a clear and concise explanation of your data collection and usage policies. This may include details about what types of data are collected, how the data will be used, who will have access to it, and how long the data will be retained.
Before we begin creating your message, we will first explain how to navigate the Templates and Appearance Options panels found on the right-hand side of the page. These panels provide the tools you'll need to start building your template and customizing the look and feel of your messages.
Navigating the Templates & Appearance Options Panels
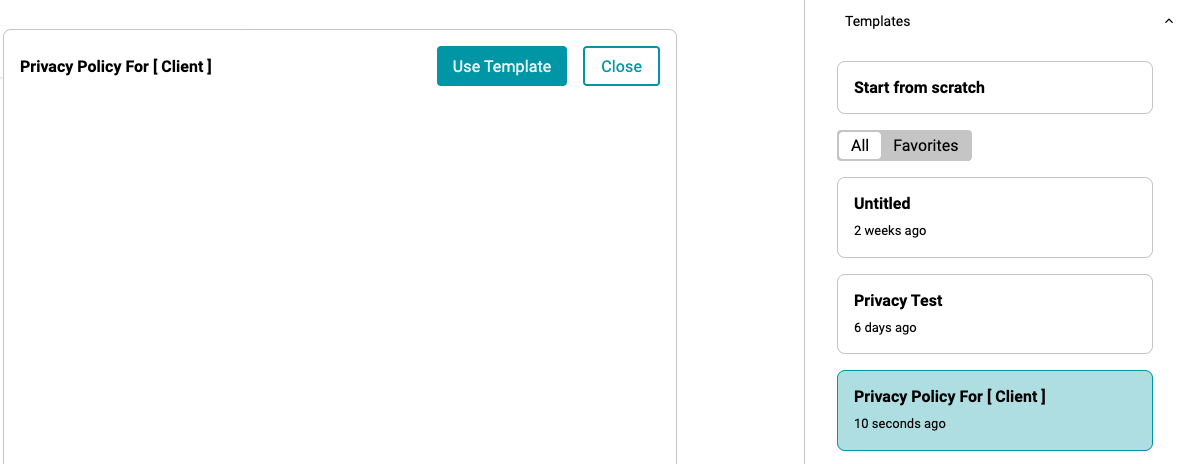
The Templates section allows you to manage and select pre-designed layouts for your Privacy Policy.
- Start from Scratch Select this option if you want to build a Privacy Policy from a blank slate without using any pre-configured styles or content.
- Existing Templates Previously created templates will appear in a list with their respective names and timestamps. You can click on any of these to reuse or edit them for your Privacy Policy.
- Favorites Tab You can tag frequently used templates as Favorites for quick access. Switch between All and Favorites using the toggle buttons to filter the list.
The Appearance Options panel allows you to customize the visual style and formatting of your message or template. Below is a breakdown of the available controls:
Colors
- Background Color - Set the background using a HEX code or color picker
- Text Color - Define text color for readability and branding
Text Formatting
- Text Styles - Bold, Italic, Underline, Strikethrough
- Alignment - Align text to the left, center, or right
- Font Family - Choose from Serif, Sans Serif, Monospace, or Calibri
- Lists - Add bulleted or numbered lists
- Text Level - Select Paragraph, H1, H2, or H3 for structure
Insert Elements
- Button - Add a clickable call-to-action
- Link - Insert hyperlinks
- Image - Upload visuals
- Horizontal Rule - Add dividers between sections
Once a template is created or selected, you can mark it as a Favorite, Remove it, or Save any changes you've made.
NOTE: The Save button becomes active only after edits are made. Any customization or modification made to the survey messaging modules through Templates (e.g., FAQ, Unsubscribe, Privacy Policy, etc.) will apply globally and affect all surveys under the client or account you are working on. Ensure changes are reviewed carefully before implementation.
Creating your Privacy Policy
To create your message or text, you can either start from scratch or choose an existing template. Once you've selected a template, you will be prompted to enter the Title and Description, then click the Create Template button to proceed.
Your new template will appear under the Templates list. Click on it to begin setting up your Privacy Policy content.
Type your message in the text editor provided. Go to Appearance Options to customize the style, formatting, and layout of your text.
NOTE: The Privacy Policy Page is made available and can be accessed by the survey respondents through the link located at the bottom of the survey invitation email. This link is only available when the survey is sent or distributed through an email invitation.
